

 info@indiafashionicon.com
 इस खबर को सुनने के लिये प्ले बटन को दबाएं।


Before you pick up your contour brush, start with solid skin. According to the guide:
-
Apply a moisturiser and primer to smooth the surface and help makeup adhere.
-
Then apply your foundation or base so your skin tone is even and ready for shaping.
Prepping properly ensures your contour doesn’t look patchy or emphasise texture.
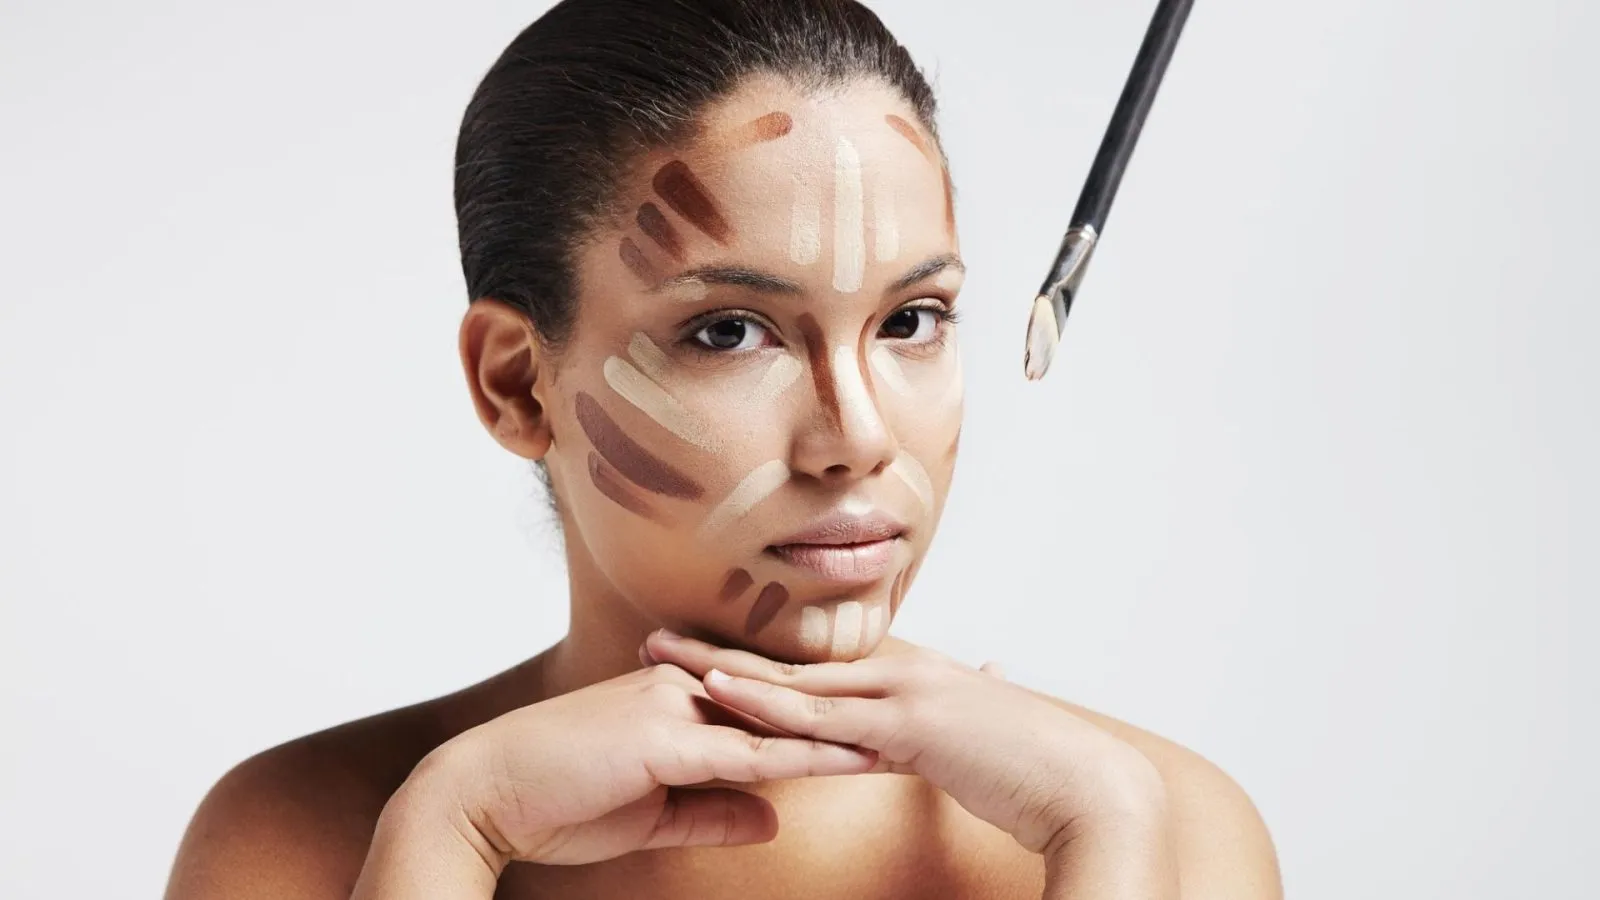
Highlighting the High Points
Once the base is set, it’s time to lift and brighten certain areas:
-
Use a lighter shade or highlighter on the tops of your cheekbones, the bridge of the nose, brow bones and the inner corners of the eyes.
-
These lit-up zones help bring forward areas of your face that catch light naturally.
Shadowing & Sculpting
Next comes the sculpting part: adding depth and shadow to create definition.
-
Choose a contour shade a few tones darker than your skin, preferably in a cool or neutral tone so it looks like a natural shadow—not an orange stripe. This is recommended in broader guides.
-
Apply it under cheekbones (by hollowing out the cheek area), along the sides of the nose (if desired) and around the jawline or temples if you want added structure.
Blending is Key
The guide emphasises:
-
Use a sponge or brush and blend the harsh lines so the transition between your normal skin tone, highlight and shadow is seamless.
-
After blending, you’ll see your face have more dimension—cheekbones look higher, jawline sharper, nose maybe more refined.
Finishing Touches
-
After contour and highlight are done, apply blush (if you like) to the apples of the cheeks to bring some warmth and colour. Guides mention blush helps integrate highlight + shadow.
-
Seal everything with a setting spray or powder so your contour lasts through the day.
For more style updates & exclusive fashion stories follow indiafashionicon.com